Hack a Dell laptop power supply for Raspberry Pi
Wednesday Nov 13, 2019
I needed a low voltage power supply for a Raspberry Pi and some other components. Now, the typical Raspberry Pi power supply is 5v and only 2.5 amps or so. If I use a lot of sensors and other components, I need more power than the small supply that comes with my pi.
Tools and Equipment Required
- Old laptop power brick
- Wire Cutters
- Wire stripper/crimper
- Low voltage hookup wire
- Wire splices (heat-shrinkable)
- Precision screwdriver
- Adjustable voltage regulator
Laptop Power Bricks
One thing I have a whole drawer full of is laptop power supplies. If you don’t have a spare, you can easily get them by looking around anyplace that does electronics recycling, or asking at your local computer repair shop.
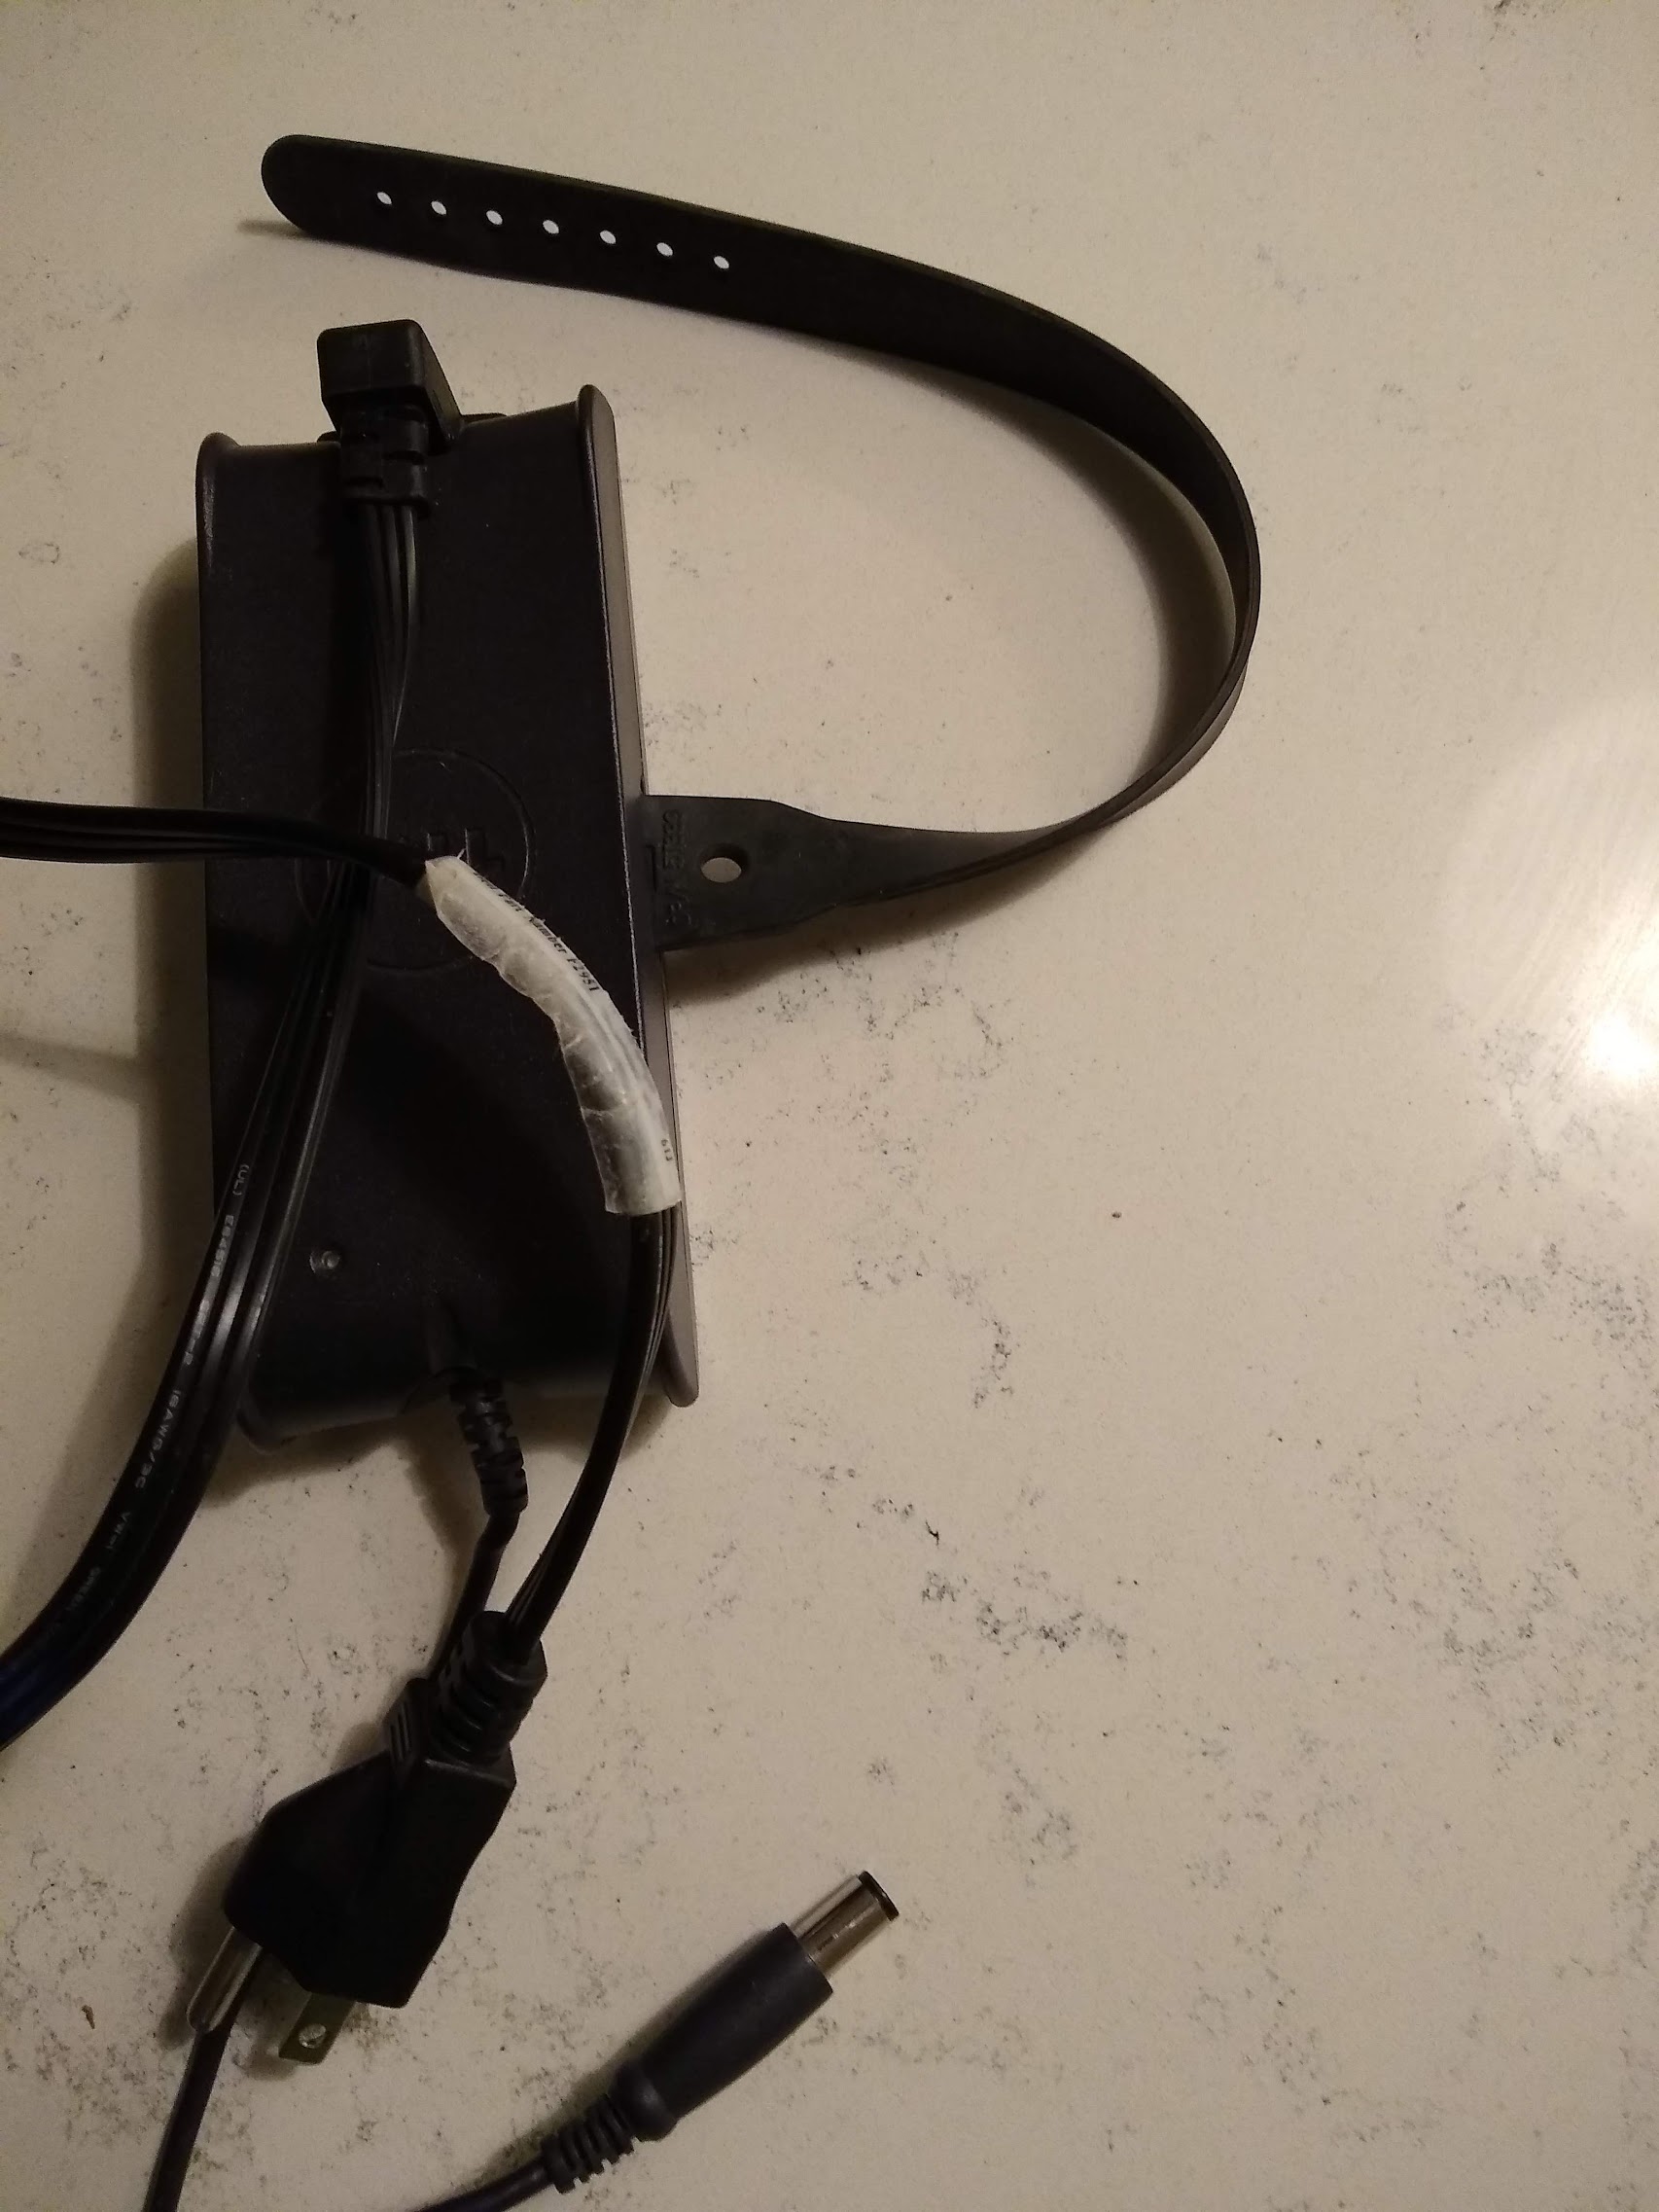
I had several Dell ones and decided to crack one open and see about using it to supply my project.
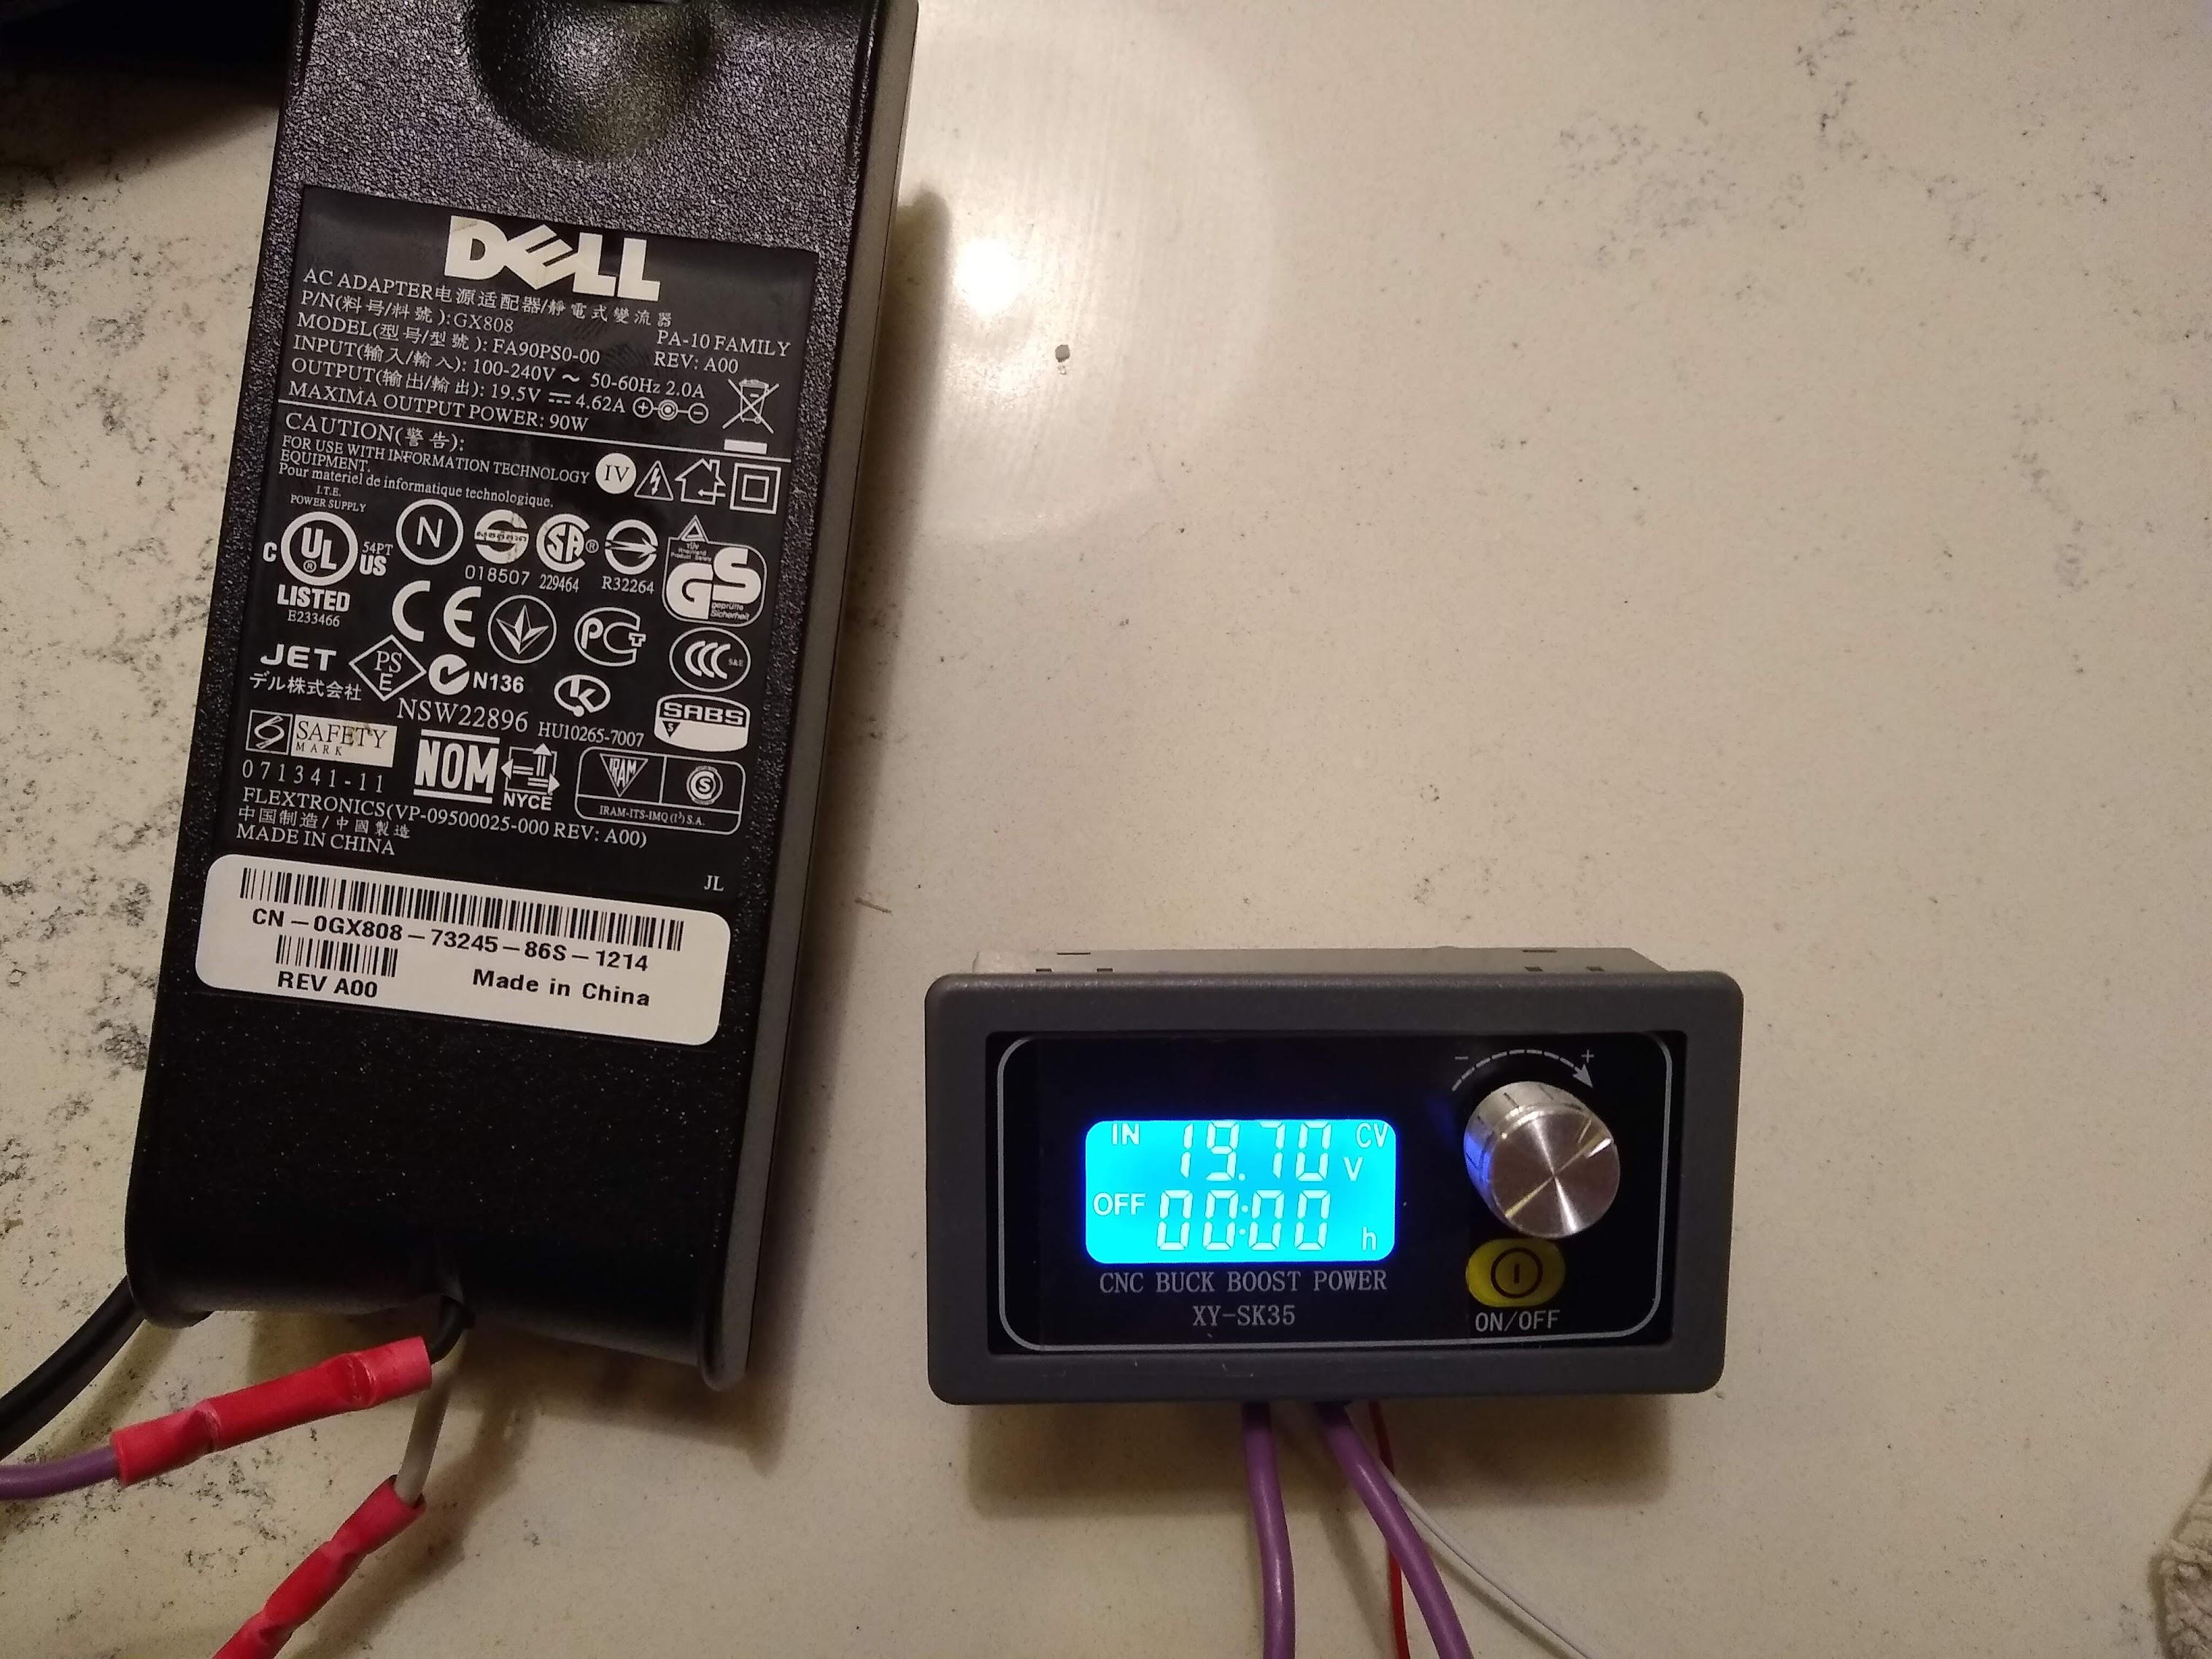
It puts out 19.5 Volts / 4.62 Amps according to the label
Voltage Regulator
I used a voltage regulator that I got from Amazon:
It is adjustable and has loads of features and was less than $20.
Cable Deconstruction
Now, I took a hammer and a screwdriver and broke my brick open. However, this is not required. There are pictures of this later in the article, but you do not need to do that.
All you have to do is locate the side of the brick that has the cable that plugs into your laptop. Once you do this, you will see 1 large wire coming out and going through a larger rubber piece on the cable.
Cut the wire just past this rubber piece so it is still attached to the wire sticking out of the brick.
Then, take a sharp knife or a razor blade and remove the rubber piece and the outer wire cover.
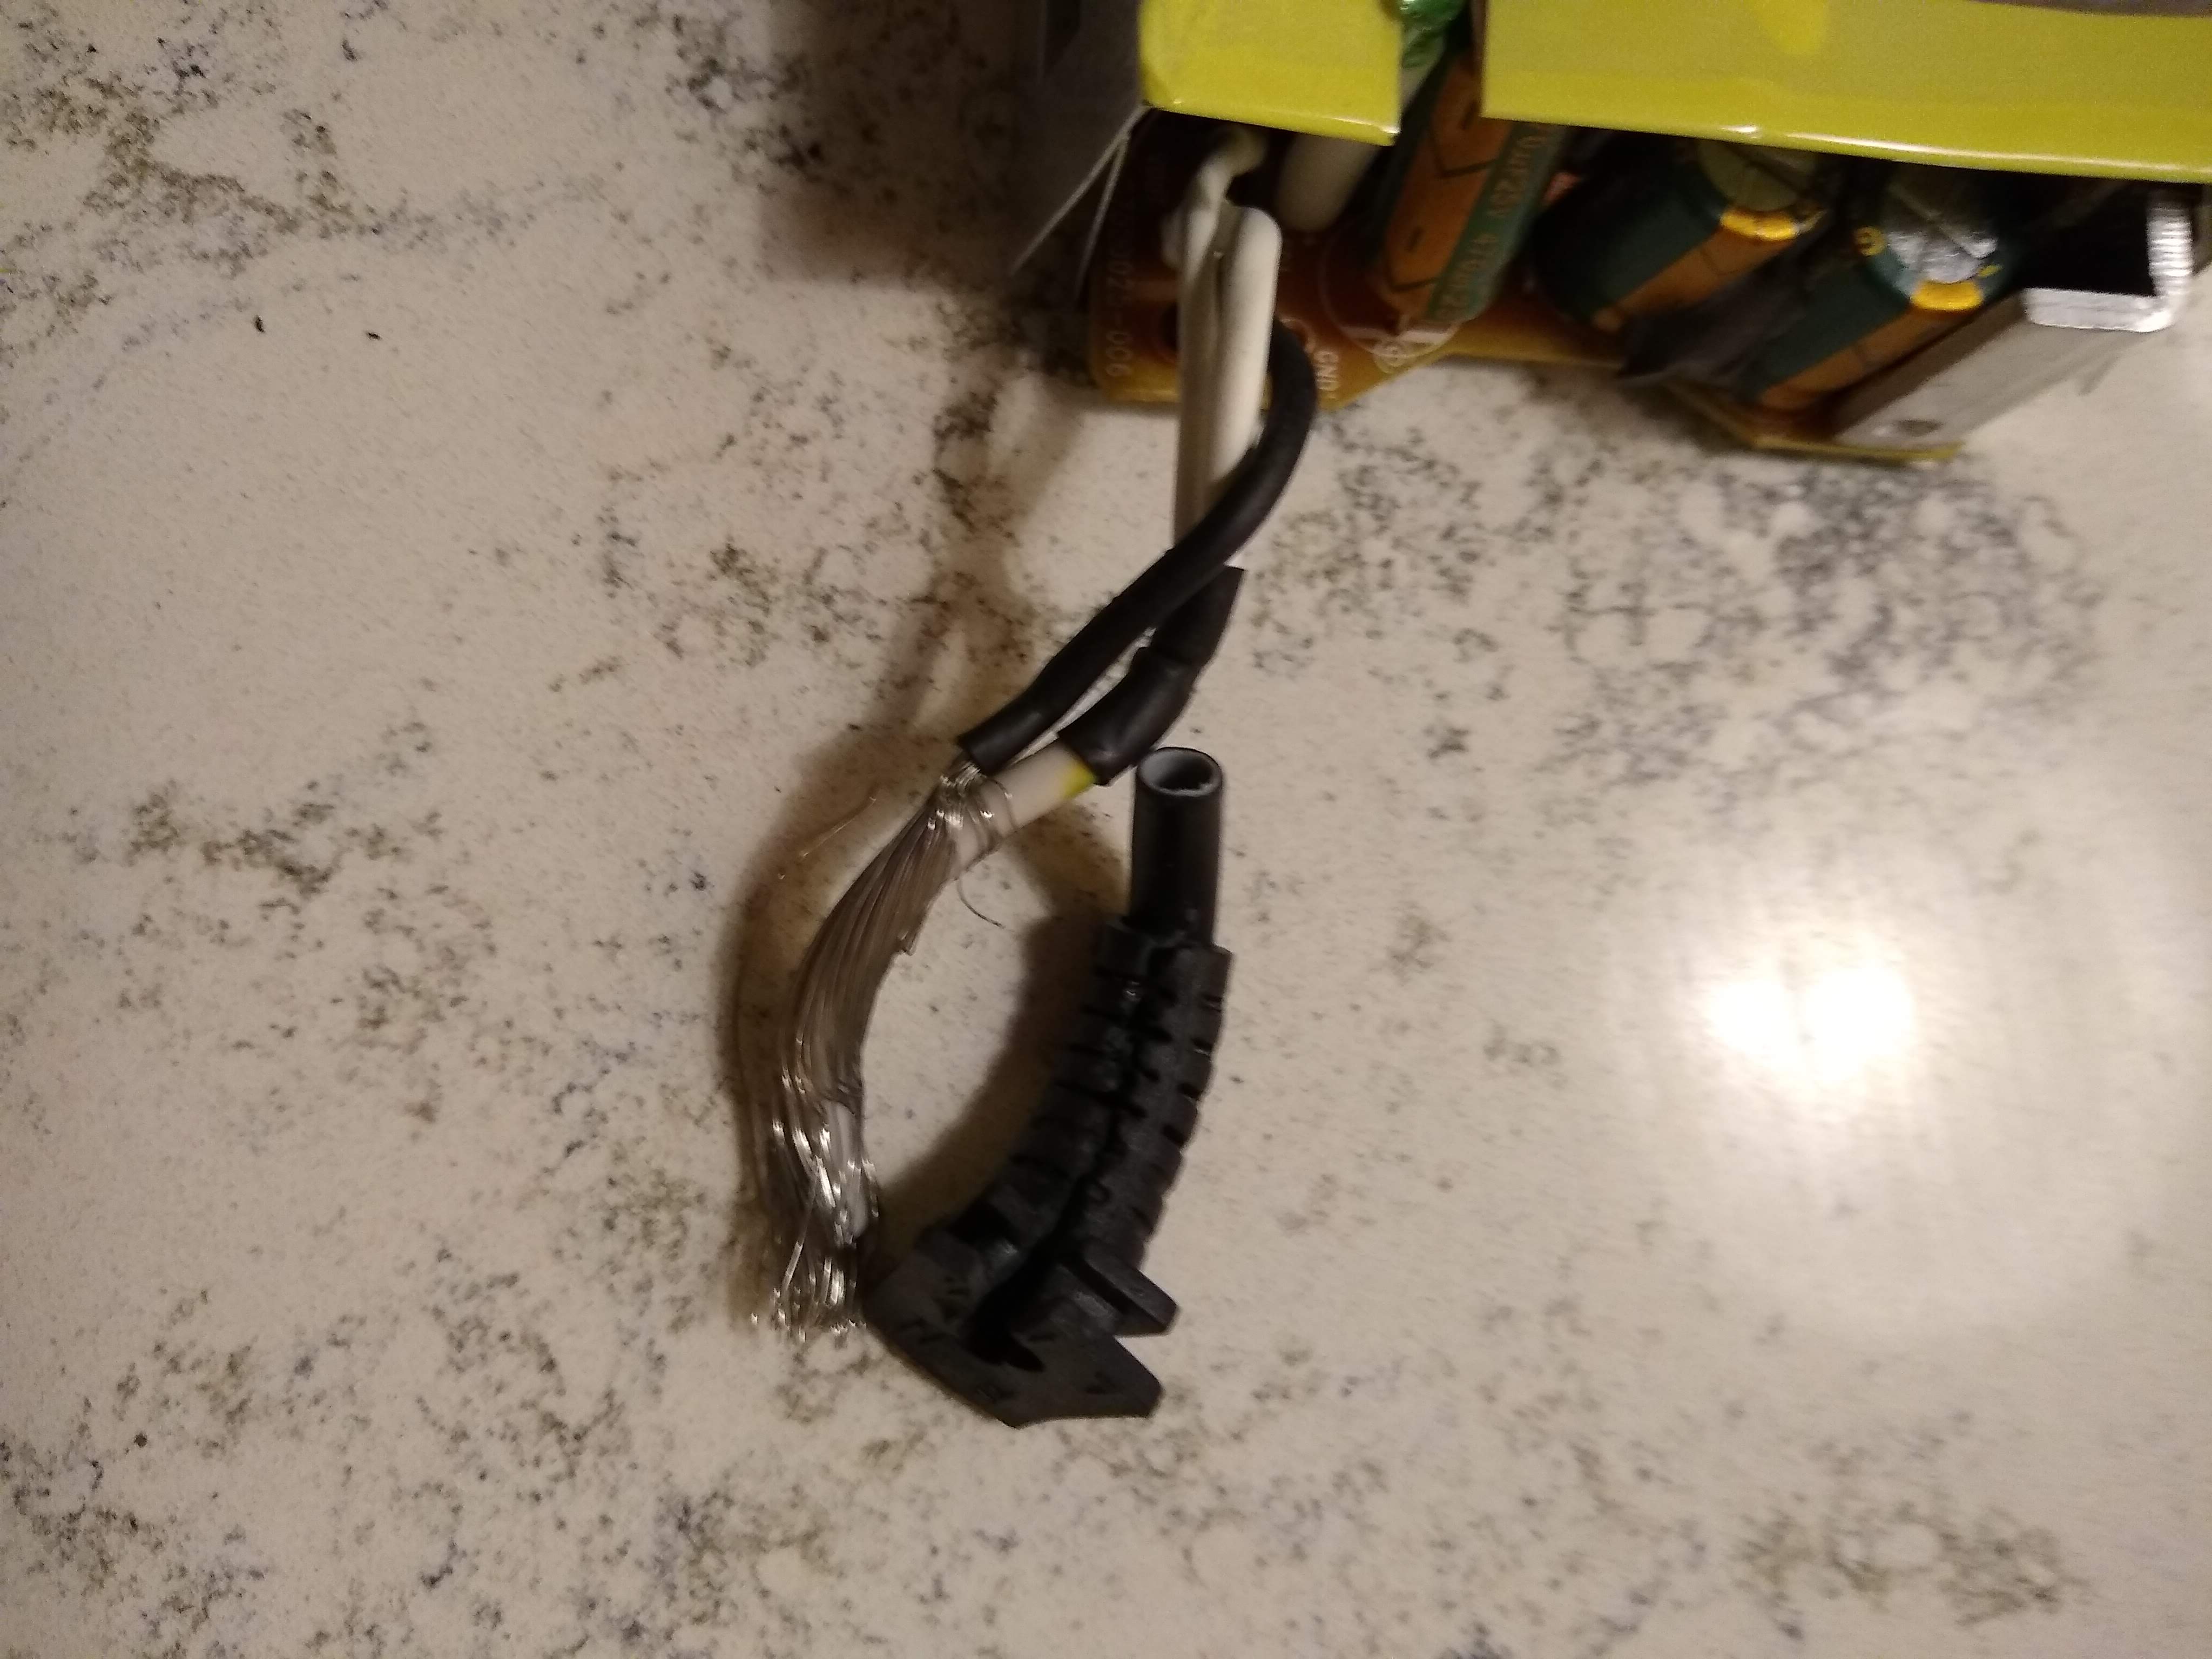
This will reveal 2 wires coming out of the brick, like the picture below. One of the wires (the ground) will come out and wrap around the inner wire (the hot). In the picture, the black wire is the ground and the white is the hot:
Next, carefully separate the power and ground cables like the picture below:
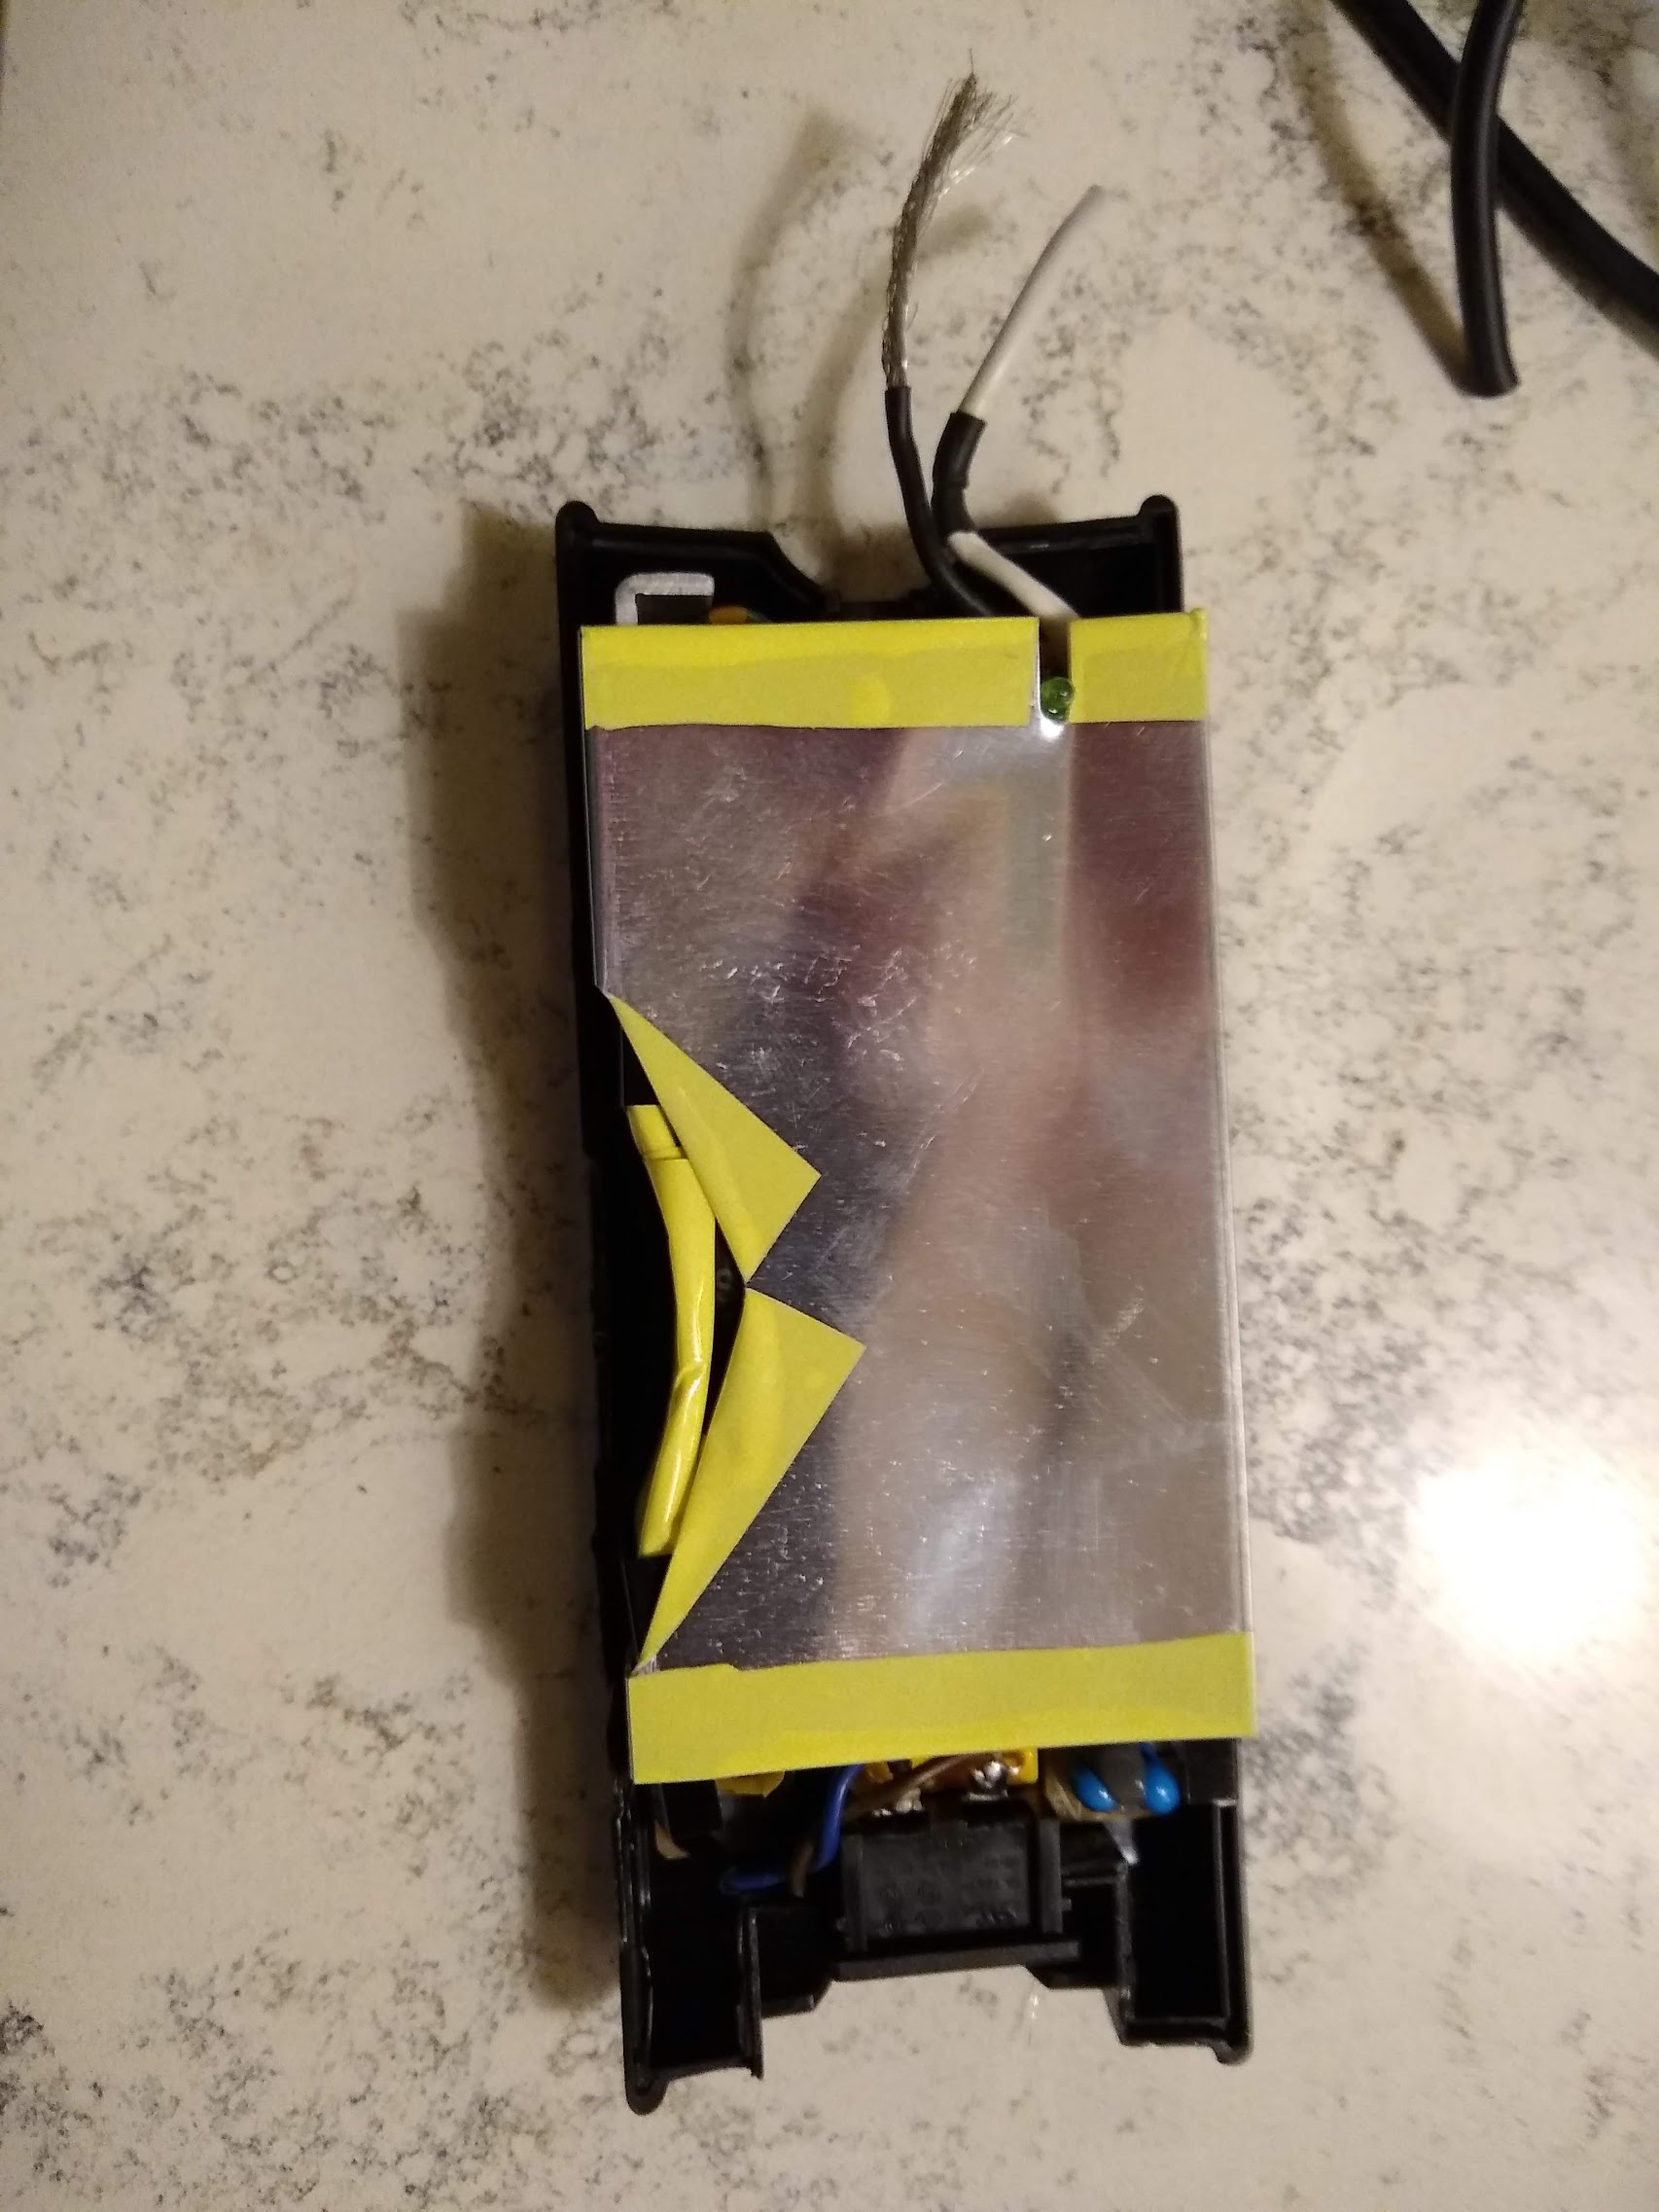
Again, note that I took the shell off of mine, but you don’t have to.
Next, join 2 longer low-voltage wires to these 2 wires so that they can reach your voltage regulator:
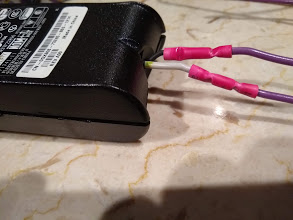
Note that I had put cover back on here…
Then, plug these wires into your voltage regulator and fire the power supply up:
That’s it, you now have reliable low-voltage DC power that will drive a whole lot more than one of those puny power supplies that comes with your pi.